The shape of the terrain can be changed using sculpting tools in the Properties menu.
Select the terrain in the Hierarchy.
Open the Properties window.
Click on the Sculpt icon to open the sculpting tool
Create a Flat Area
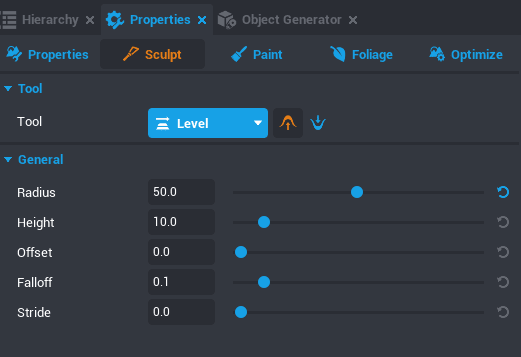
In the Tool menu, select the Level tool.
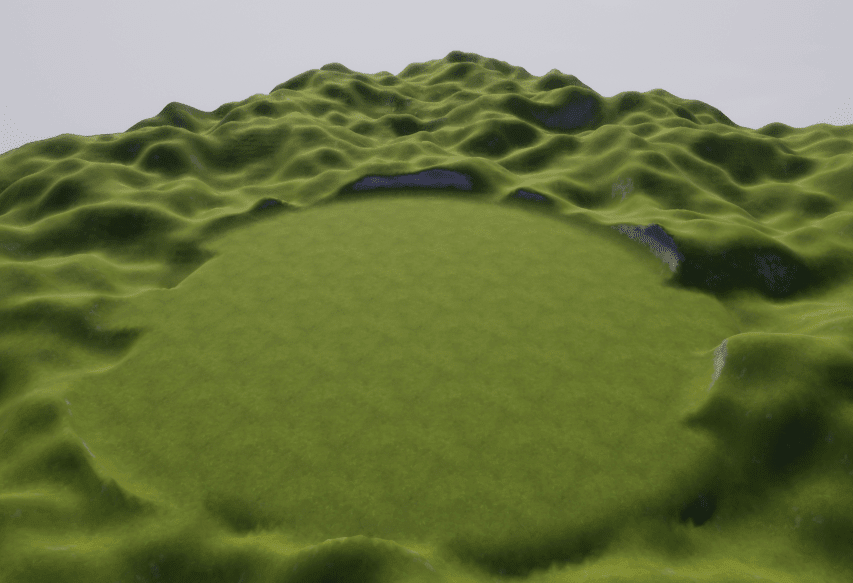
Click on an area that is the ideal height, then drag around it to make the rest of the terrain match.
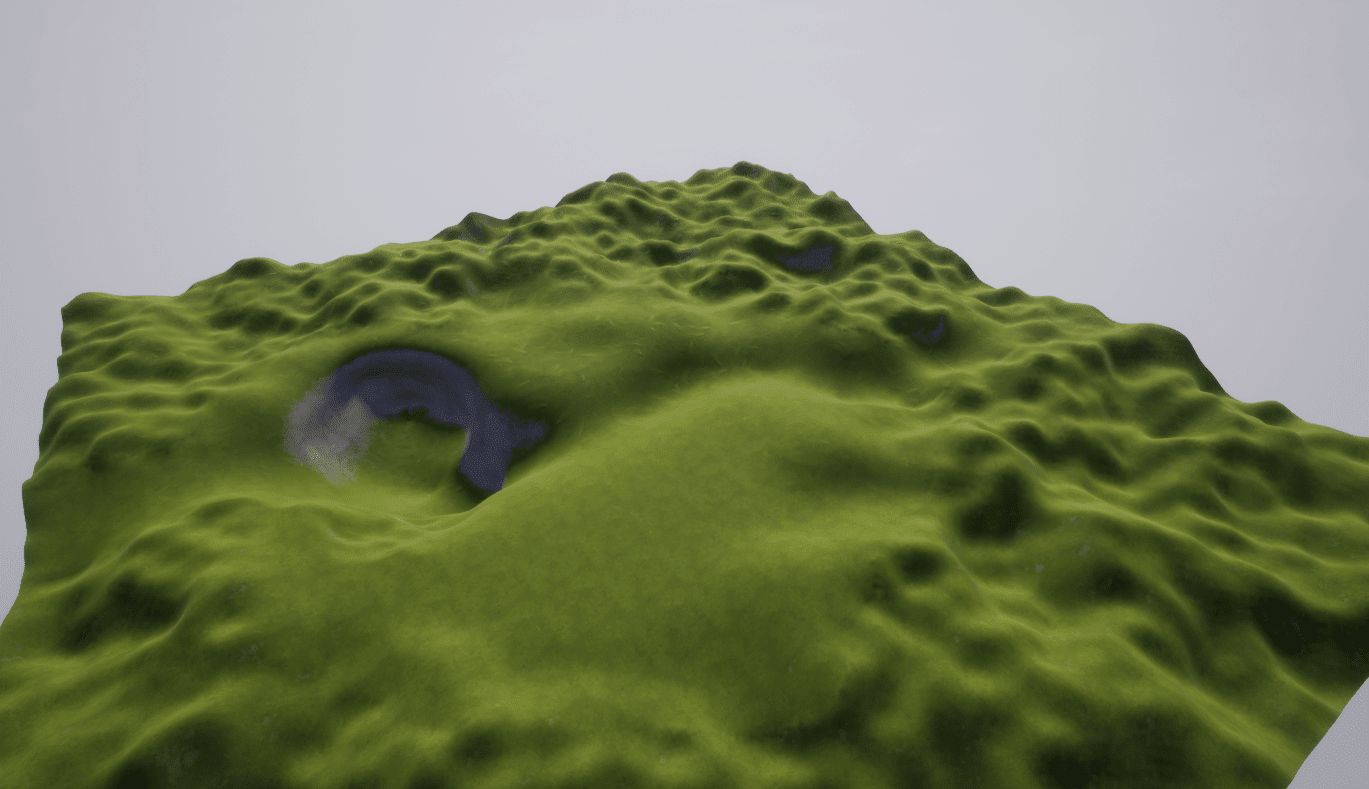
Carve out a Pond and Stream
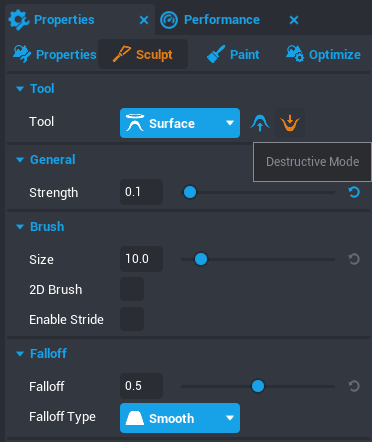
In the Tool menu, select the Surface tool.
Change the mode from Additive to Destructive.
Lower the Strength value in the General subcategory to 0.1
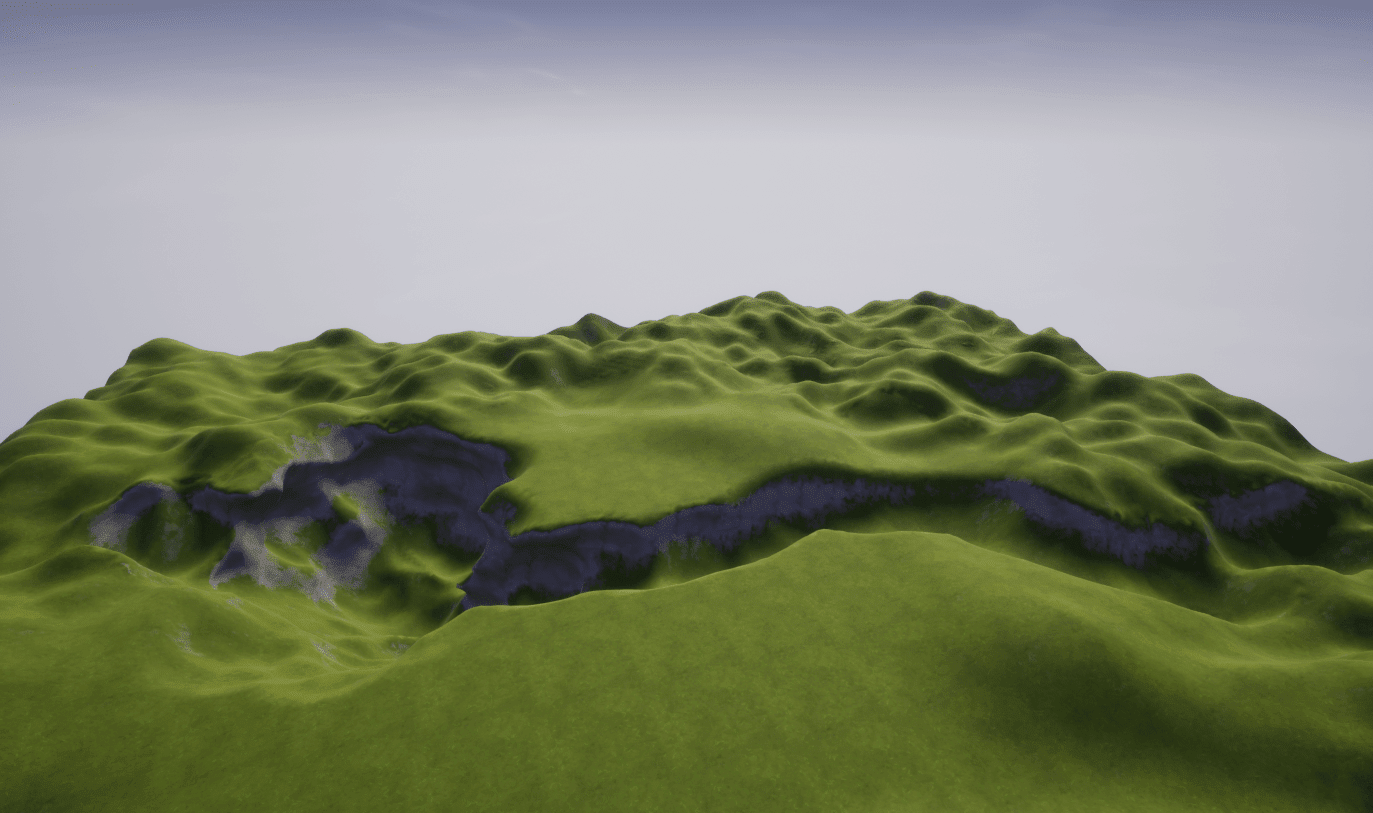
Click and drag on the terrain to carve a bowl shape for a pond, and extend it to a river on either side.
Smooth the Terrain
Change the sculpting tool from Surface to Smooth.
Click and drag the pond and rivers to give it a more natural appearance.
Water and Swimming
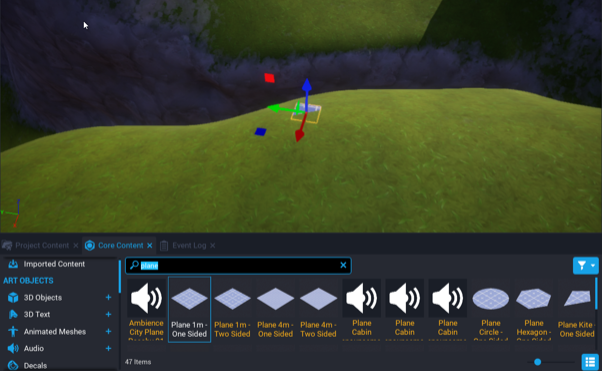
Add a Plane to the Scene
Search for a Plane 1m – One Sided in the Core Content tab.
Drag the plane into the scene, above the spaces sculpted for the water.
Rename the plane to Water Surface.
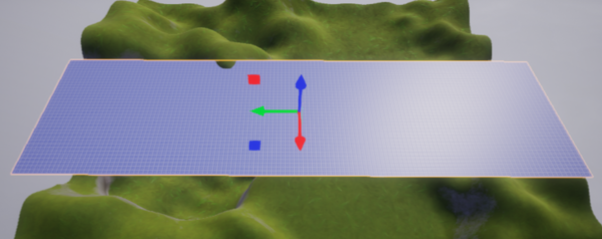
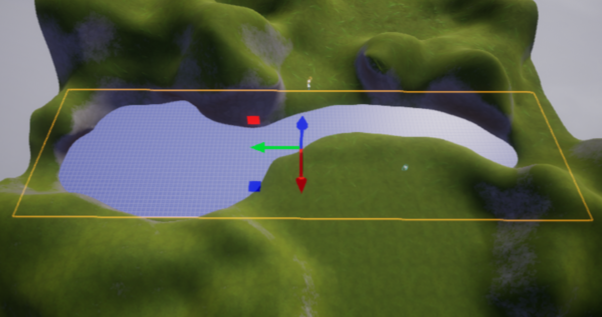
Resize and Reposition the Plane
Resize the plane until it fills the pond and river.
Move the plane down until it fits nicely into the terrain for the pond and river.
Add a Material
Search Core Content for Water.
Choose a water material, and drag it onto the plane.
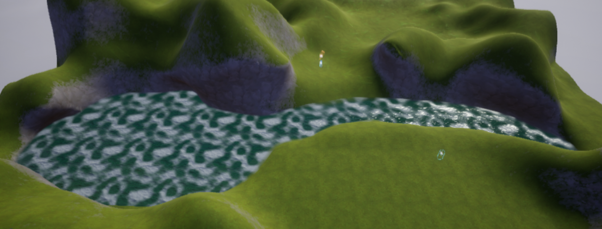
Preview the scene to see the water in person.
Disable Collision on the Water
The water plane now has the appearance of water, but a player will walk over it, rather than into it, because the plane has collision by default.
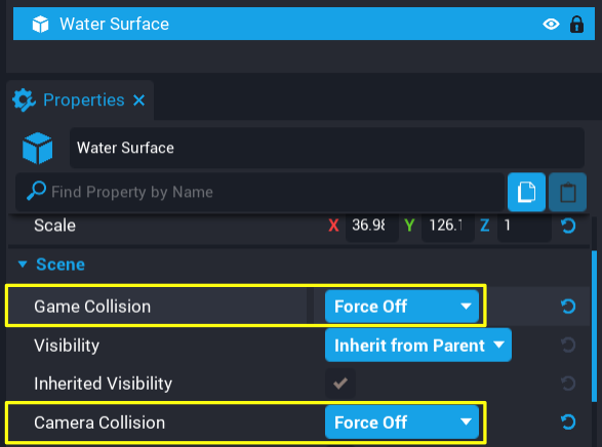
Select the Water Surface.
On the Properties window, and find the Scene section.
Change the Collision property to Force Off for Game Collision and Camera Collision.
Preview again to test that you can now pass through the water as a player.
Use the Underwater Post Process
Now you can pass through the water, but once inside it looks like the water disappears. We can use the Underwater Post Process volume to achieve an underwater effect.
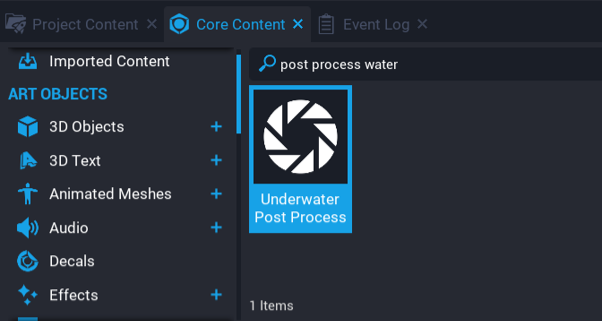
Find the Underwater Post Process volume under the Post Processing section of Core Content.
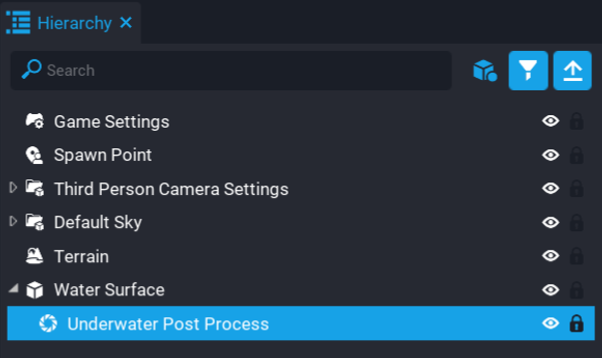
Drag it into your Hierarchy on top of the Water Surface object so it becomes a child..
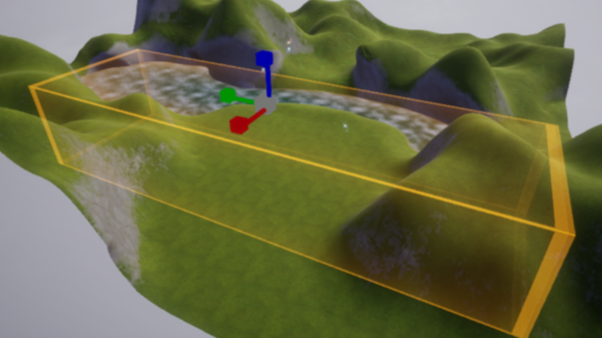
Resize the Underwater Post Process
The Underwater Post Process needs to be resized to match the size of the Water Surface.
Set the Scale of the Underwater Post Process to 1 for x and y.
Resize the z scale of the Underwater Post Process so it covers the depth of the pond and river.
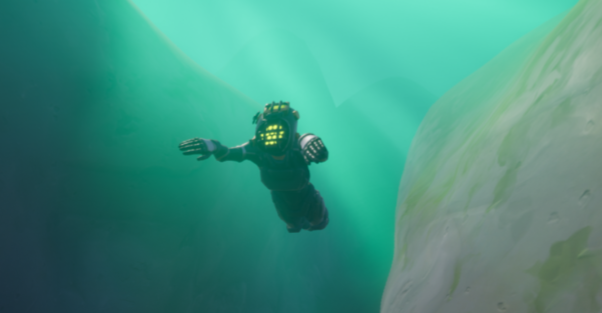
Test Swimming
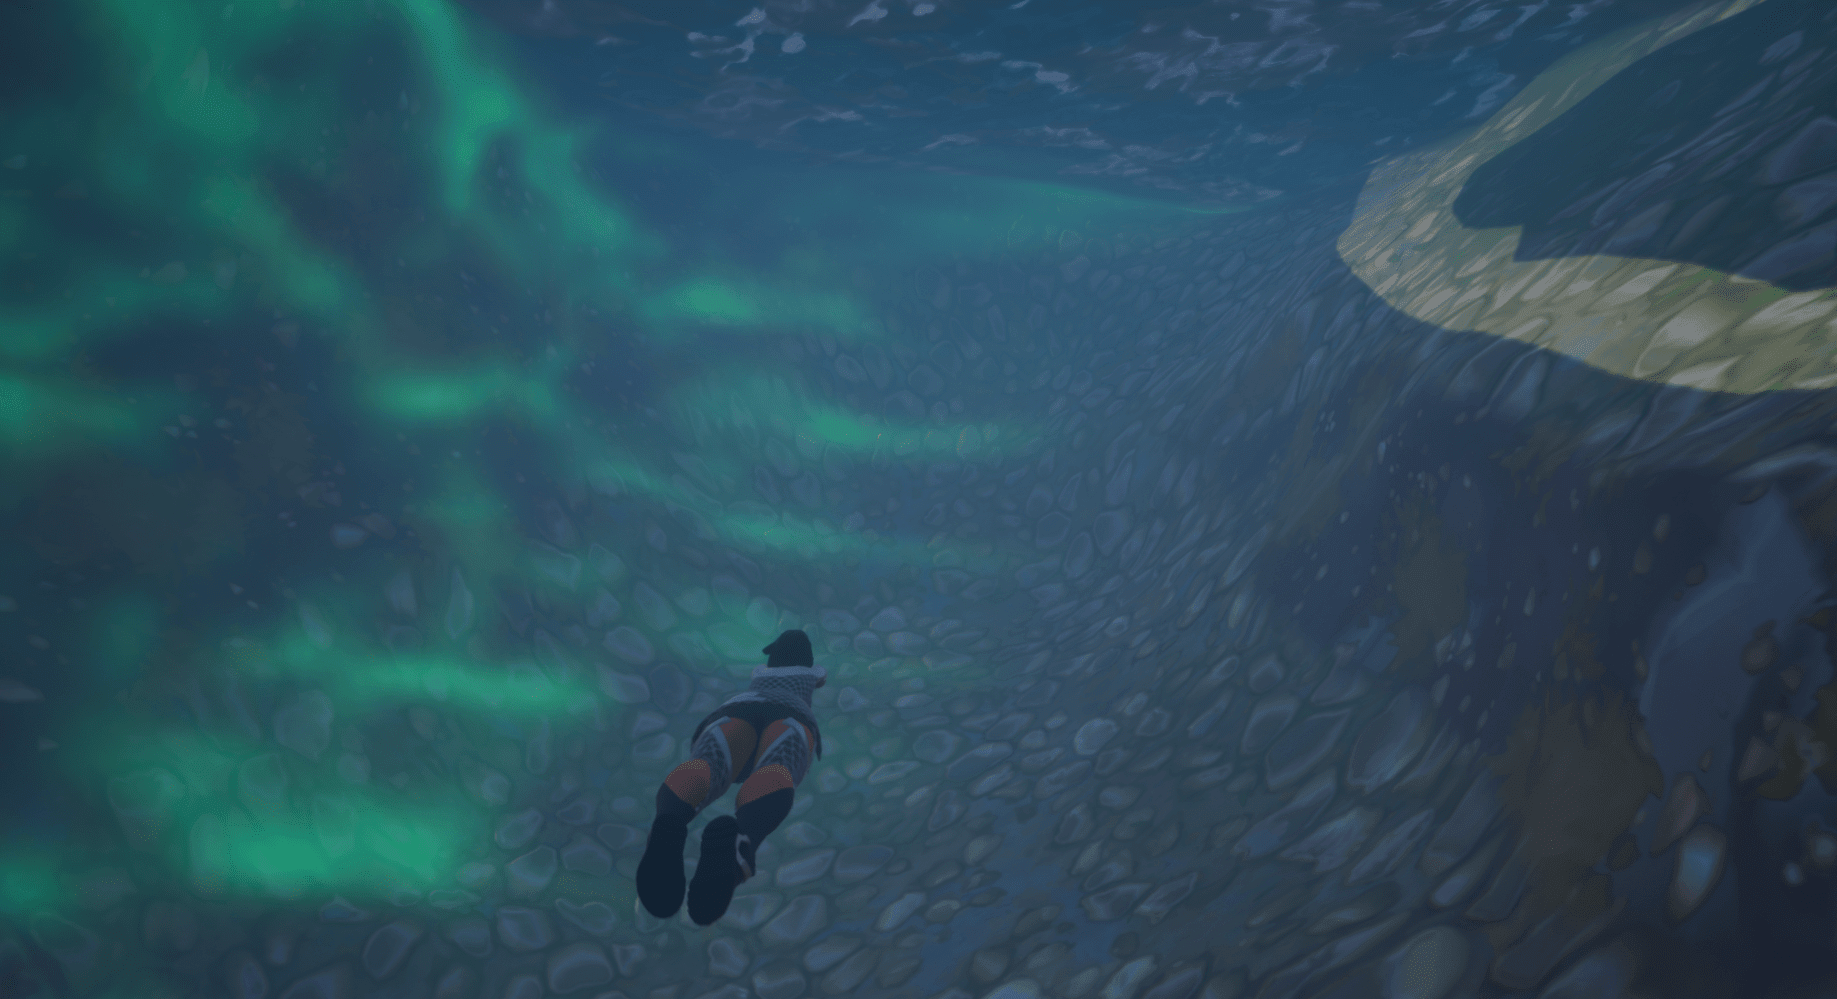
With the Underwater Post Process in the same area as the water, you should now start swimming automatically when you enter it. Press Play to preview and jump in the water. If it is deep enough, your character should switch to the swimming animation. You will also notice some distortion and color in the water. You can change how these work in the Properties menu for the Underwater Post Process.
Try it on Core! Find a good spot in the generated terrain and use the sculpting tool to make it look like your landscape.
Terrain Painting
Open the Terrain Painting Tool
The terrain painting tool is also found in the terrain Properties tab.
Select the terrain in the Hierarchy.
Open the Properties window.
Click on the icon to open the Paint menu..
Click Create new terrain material
This will change the terrain’s material to Terrain Material but keep the grassy appearance.
Choose Materials
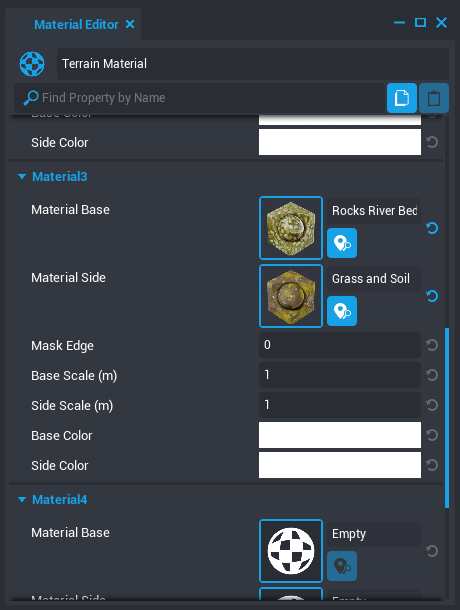
To paint terrain, we need to create a palette of materials to use on the terrain. In the Palette section, select Edit Materials
Each of the Materials, labelled Material1 through Material4 corresponds to one of the visible materials in the Paint menu. Each has two Materials channels, one for flat sections of the material, Material Base, and another for the steeper, vertical sections of the game, Material Side.
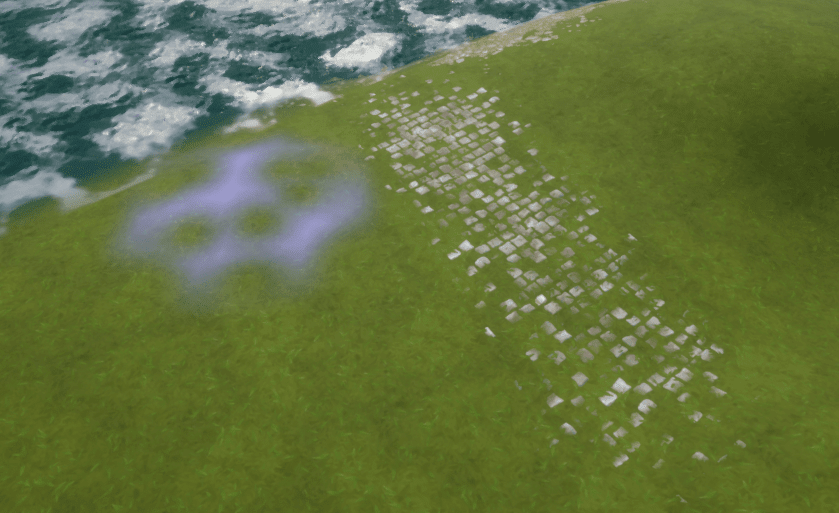
Paint a Path
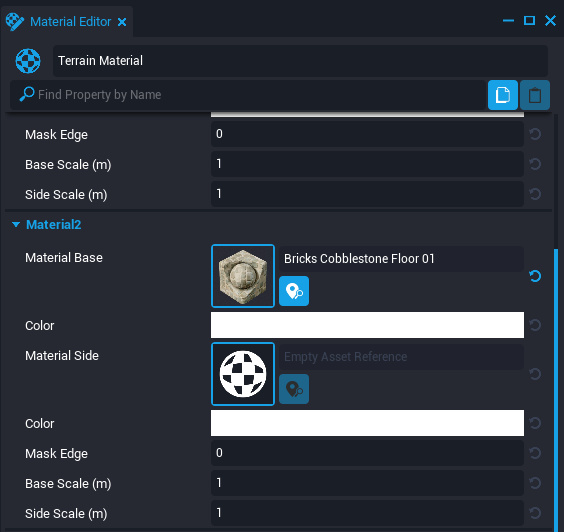
In the Edit Materials menu, find Material2
Click the empty image next to Material Base to open the Material Picker
Select Bricks Cobblestone Floor 01
Close the Edit Materials menu.
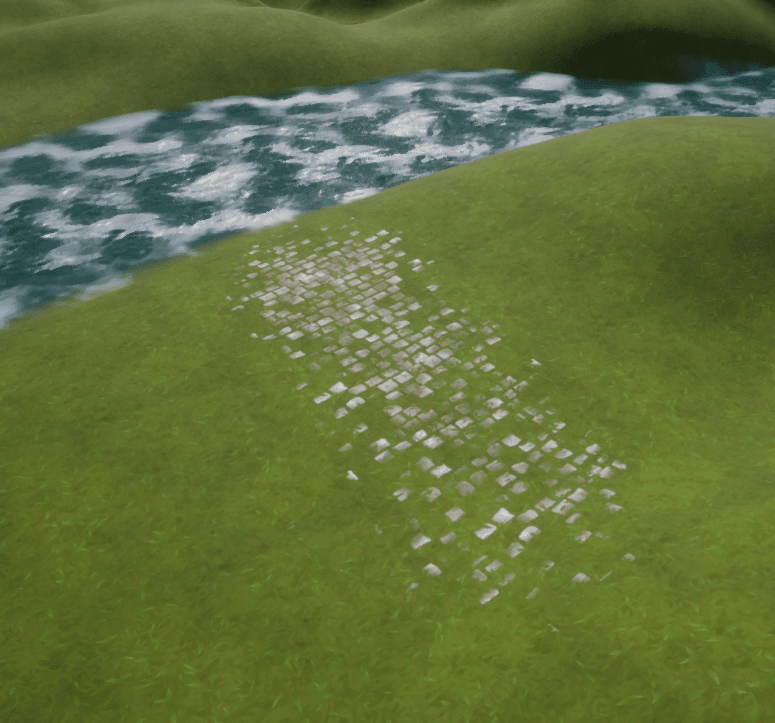
Select the second Material in the Paint menu Palette
In the General section, increase the Target Value value to 0.4 to blend the brick material with the grass.
Click and drag where you want a path to create some stones coming out of the grass.
Tip: You can hold Alt while dragging on the scene to unpaint materials from areas that you recently painted.
Paint the River Bottom
Choose the Materials
In the Hierarchy, click the eye icon next to the Water Cube to hide it temporarily.
In the Edit Materials menu, find Material3
Set the Material Base to Rocks River Bed 01
Set the Material Side to Grass and Soil and close the Edit Materials menu.
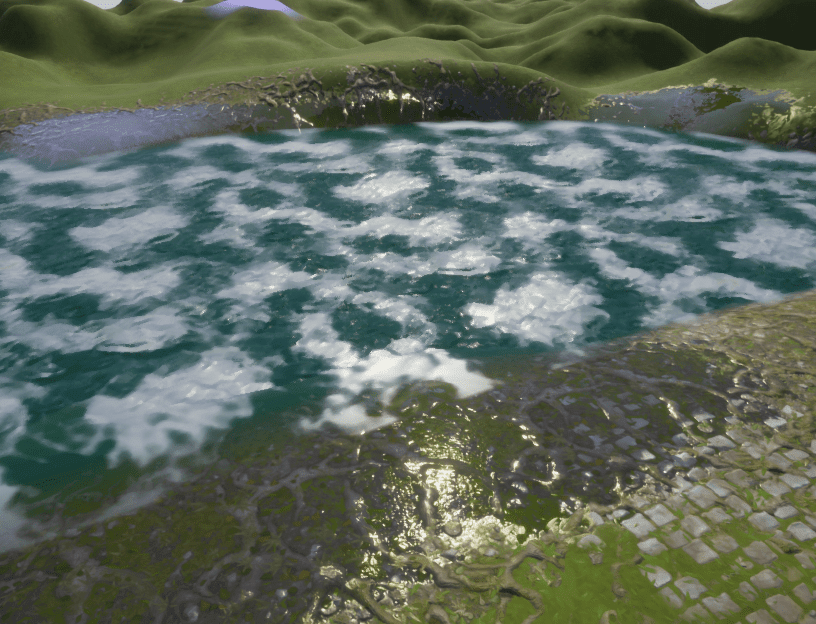
Paint the River
Select the third Material in the Paint menu Palette
Click and drag along the river to cover it with the new materials.
Click the eye icon next to the Water Cube to show it again
Preview the Materials Underwater
Press the Play button to preview the new materials under the Underwater Post Process effect by swimming through the river.
Paint the River Bank
Using a Mask
Masks allow you to use more complex shapes in applying a new Material.
In the Edit Materials menu, find Material4
Set the Material Base to Rocks River Bed 01
In the Mask section, check the Use Mask box.
Click the image icon in the Mask property, and select Cells
This website uses cookies so that we can provide you with the best user experience possible. Cookie information is stored in your browser and performs functions such as recognising you when you return to our website and helping our team to understand which sections of the website you find most interesting and useful.
Strictly Necessary Cookies
Strictly Necessary Cookie should be enabled at all times so that we can save your preferences for cookie settings.
If you disable this cookie, we will not be able to save your preferences. This means that every time you visit this website you will need to enable or disable cookies again.
3rd Party Cookies
This website uses Google Analytics to collect anonymous information such as the number of visitors to the site, and the most popular pages.
Keeping this cookie enabled helps us to improve our website.
Please enable Strictly Necessary Cookies first so that we can save your preferences!