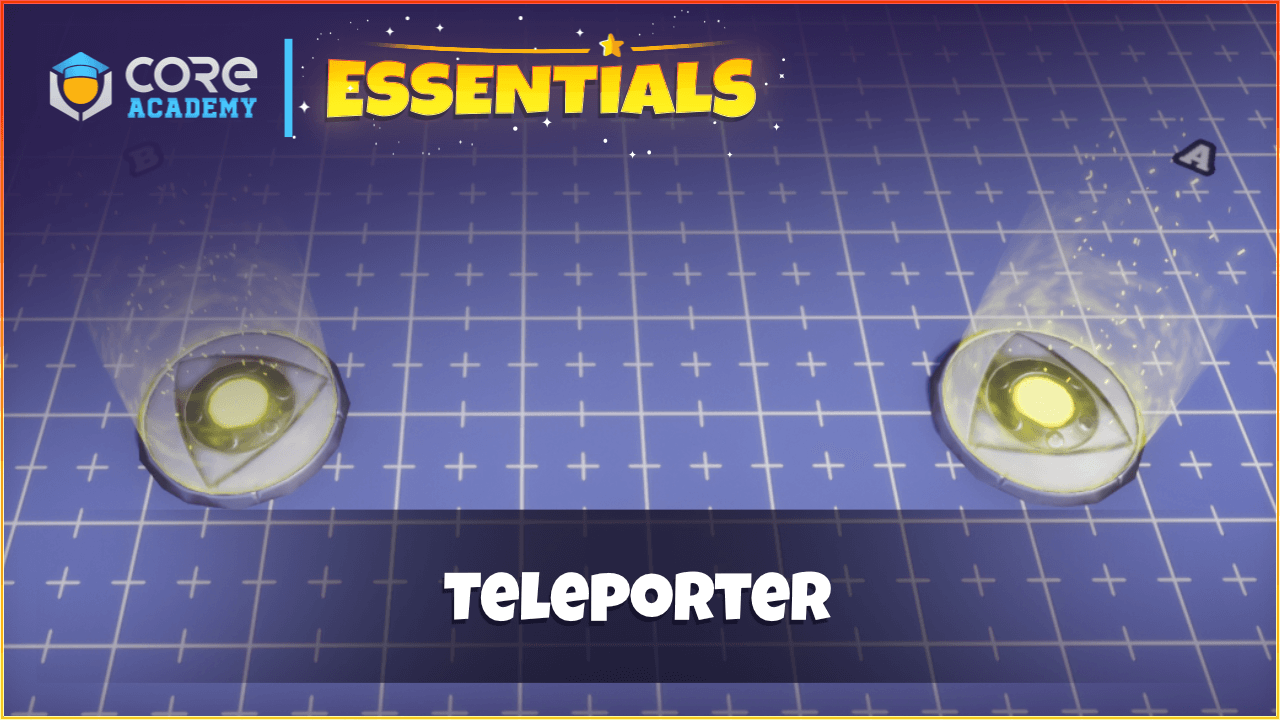
The Teleporter component allows creators to set up teleporters around their map to help players quickly travel between different areas.
The component uses a data table to make connecting teleporters quick and simple.

How to use
An example template is included that contains 2 teleporters that are linked to each other. When the player enters the outside teleporter, the player will be teleported to the inside teleporter in the cafe.
To have a specific rotation for the player when they are teleported, you can rotate the root object. If the rotation is 0, 0, 0, then it will maintain the player’s rotation.
To create your own teleporters, there is a Teleporter template that can be used. The template contains 2 custom properties on the root of the template.
- ShowName
If enabled, the name will appear above the teleporter for the player.
- Name
The name of the teleporter that will be transferred to.
- RotatePlayer
If enabled, the player will be rotated based on the PlayerRotation value.
- RotateCamera
If enabled, the camera will be rotated based on the PlayerRotation value.
- PlayerRotation
The rotation of the player when spawning at this portal.
Connecting Teleporters
Connecting teleporters is very easy. In Project Content find the Teleporters data table and open it. You will see 3 columns, From, To, and TwoWay. Add teleporters to the From and To column, the TwoWay column can be enabled if players can go back through the teleporter.
Teleporters can be chained easily. For example, from A to B, B to C, and so on.


Pingback: Core Academy Essentials - Core Academy