Putting the Tiles into a Data Table

Putting all the tiles in a Data Table will make it organized, and an easy access point to all the tiles. By adding a table as a custom property on a Lua script, that script will have a reference to the data table and all the items in that table.

Create Tiles Data Table

  1. In Project Content right-click and select Create Data Table.
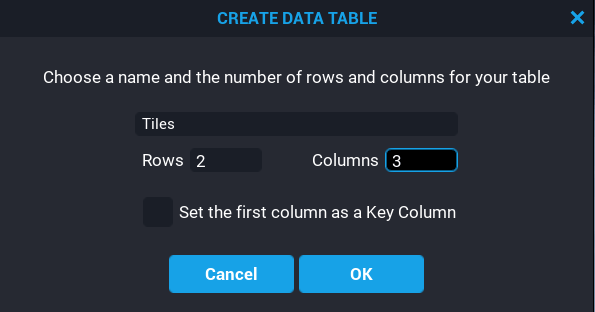
  2. Name the data table Tiles and set the rows to 2 and columns to 3 and click OK.

Edit Data Table Columns

Before you can add the tiles to the data table, you will need to edit the column names and type.

Edit Column_001

The first column will be used to hold the ID type of the tile. This ID value is what appears in the ASCII string. So for example, an ID of 0 would be for Floor, an ID of 1 would be for wall, and so on.

  1. In My Tables in Project Content, double click on the data table Tiles to open it.
  2. For the first column (Column_001), click the warning icon to open up the column settings.
  3. Set the Column Name to id and the Column Type to String, then click OK.

Edit Column_002

The second column will be used to hold a reference to the tile templates created earlier.

  1. For the second column (Column_002), click the warning icon to open up the column settings.
  2. Set the Column Name to tile and the Column Type to Asset Reference, then click OK.

Edit Column_003

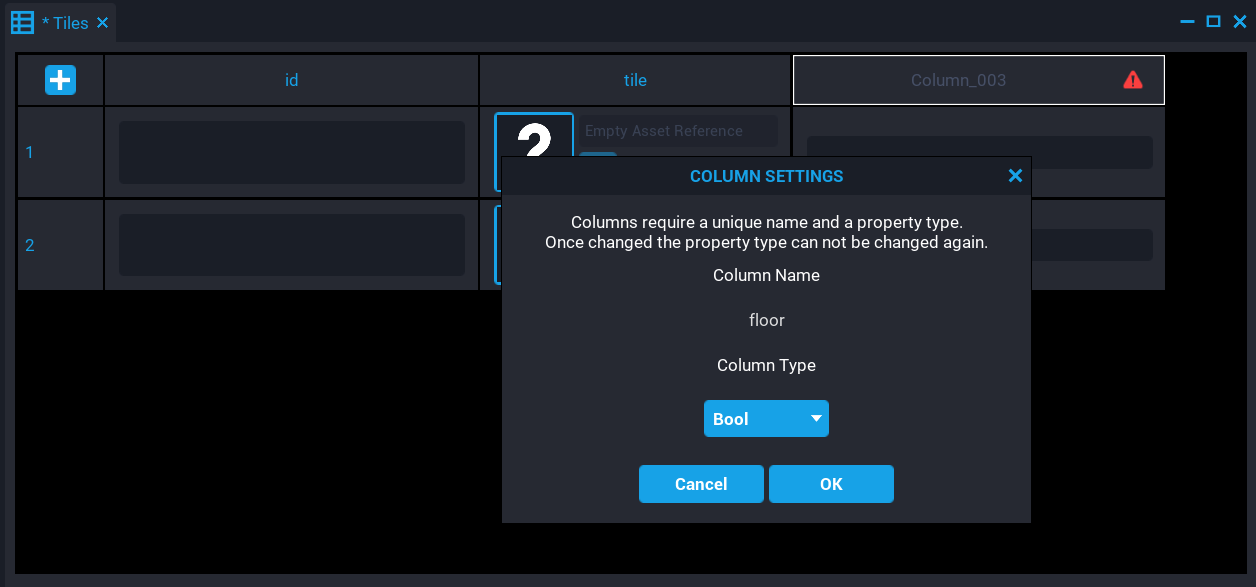
The third column will be used to determine if this tile is a floor or not. If it is a floor, then the generation algorithm can use this information and decide what to do with it.

  1. For the third column (Column_003), click the warning icon to open up the column settings.
  2. Set the Column Name to floor and the Column Type to Bool, then click OK.

Set Column Key

For quick access to a row in the Tile data table, you can set the id column to act as the key. This means that you will be able to access a row from the Tiles data table by doing TILES[id], and that would return the row that matches that id.

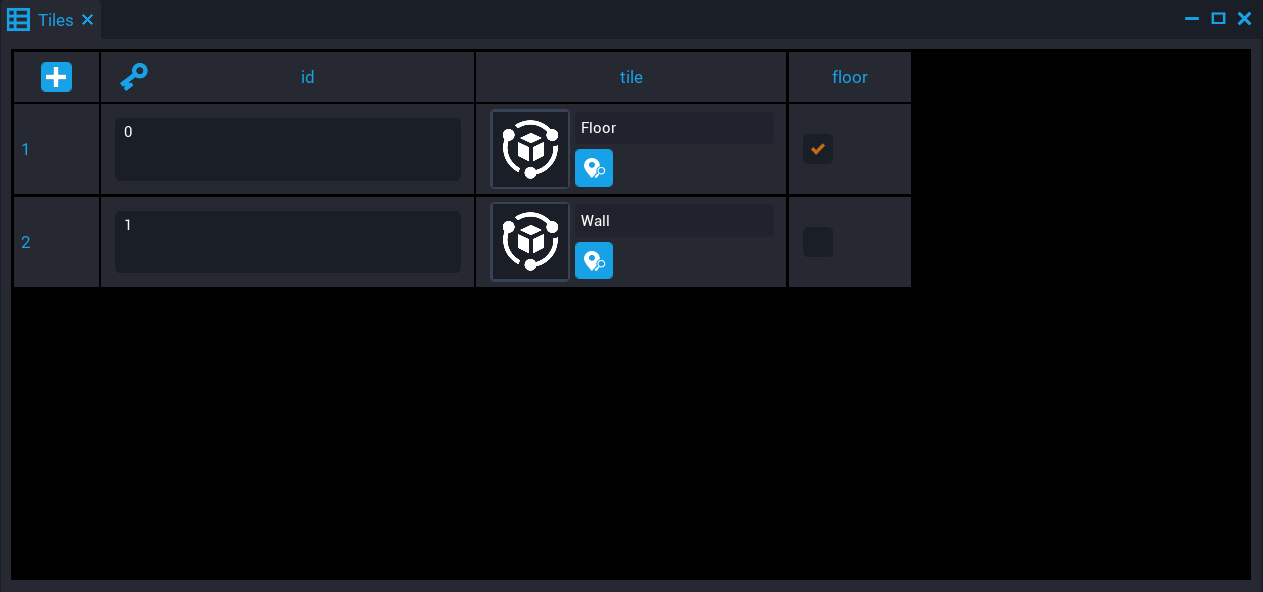
Right-click on the id column, and select Has Key Column. If done correctly, a key icon will appear to the left of the column name.

Add Tiles to Data Table

Now that you have 3 columns and 2 rows in the data table, you will need to add the Wall tile and Floor tile to those rows, and set the ID.

  1. In My Tiles in Project Content, add the Floor tile to the tile column for the second row, and enable the floor column. Set the id column to 0.
  2. In My Tiles in Project Content, add the Wall tile to the tile column for the third row. Set the id column to 1.
  3. Save the data table by pressing Ctrl + S or closing the window and click Yes to save.

Scroll to Top